Drywall Outside Corners Services in Glendale, CA
Outside corners on new construction and remodels run through the entire finishing sequence, starting before any tape goes on the flat field.
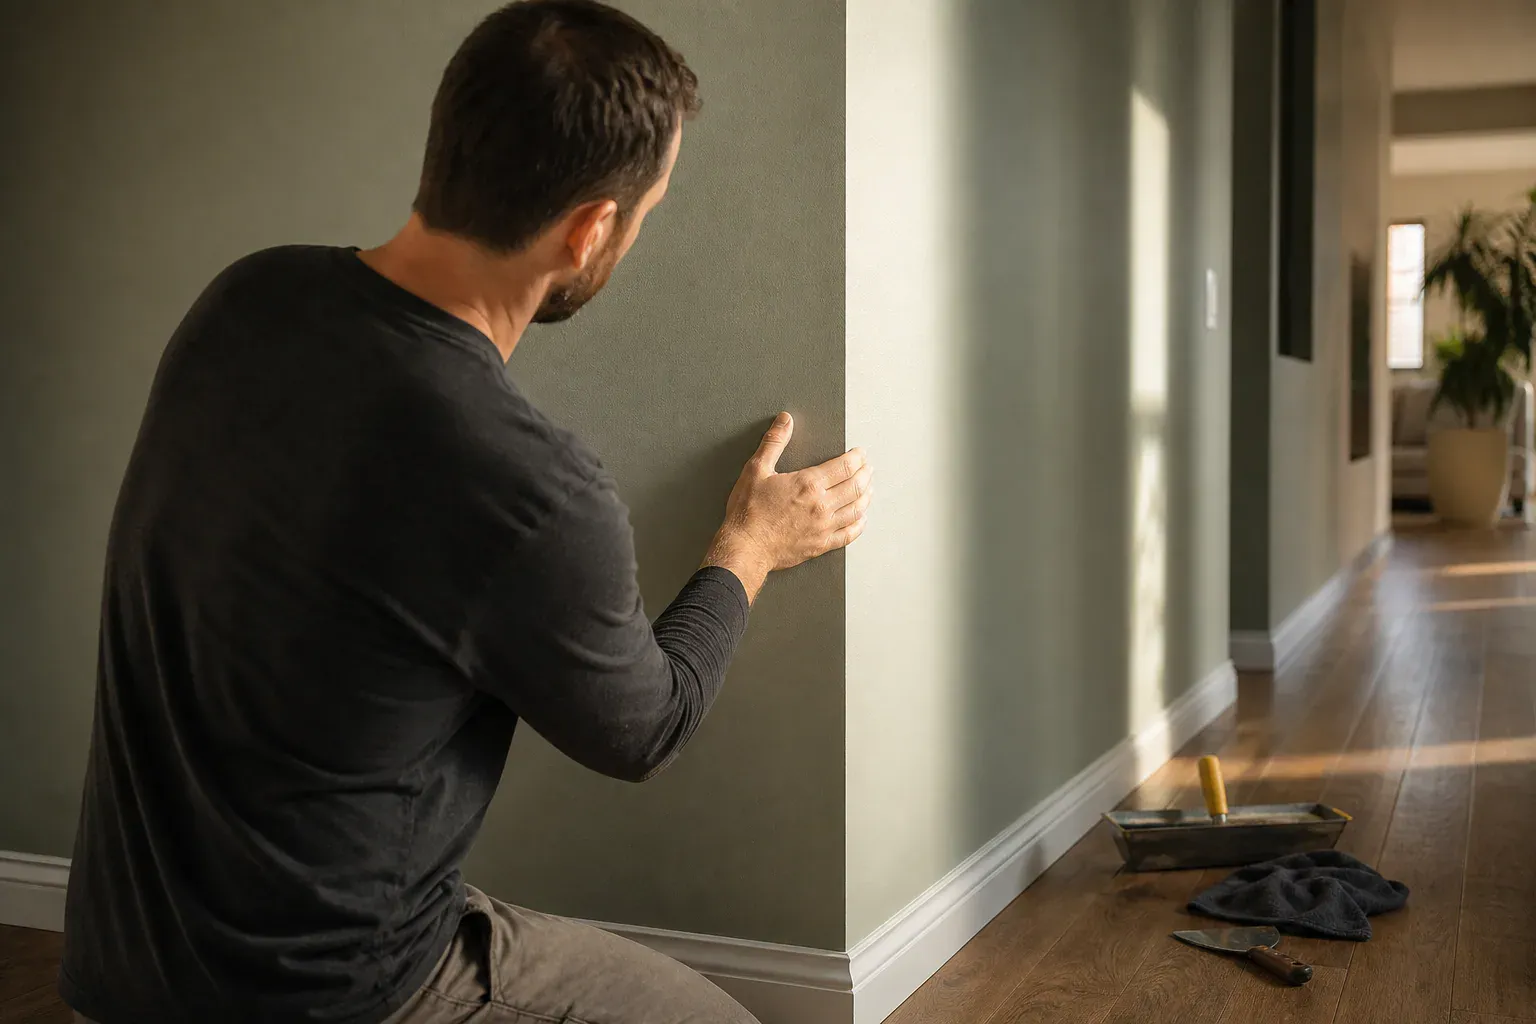
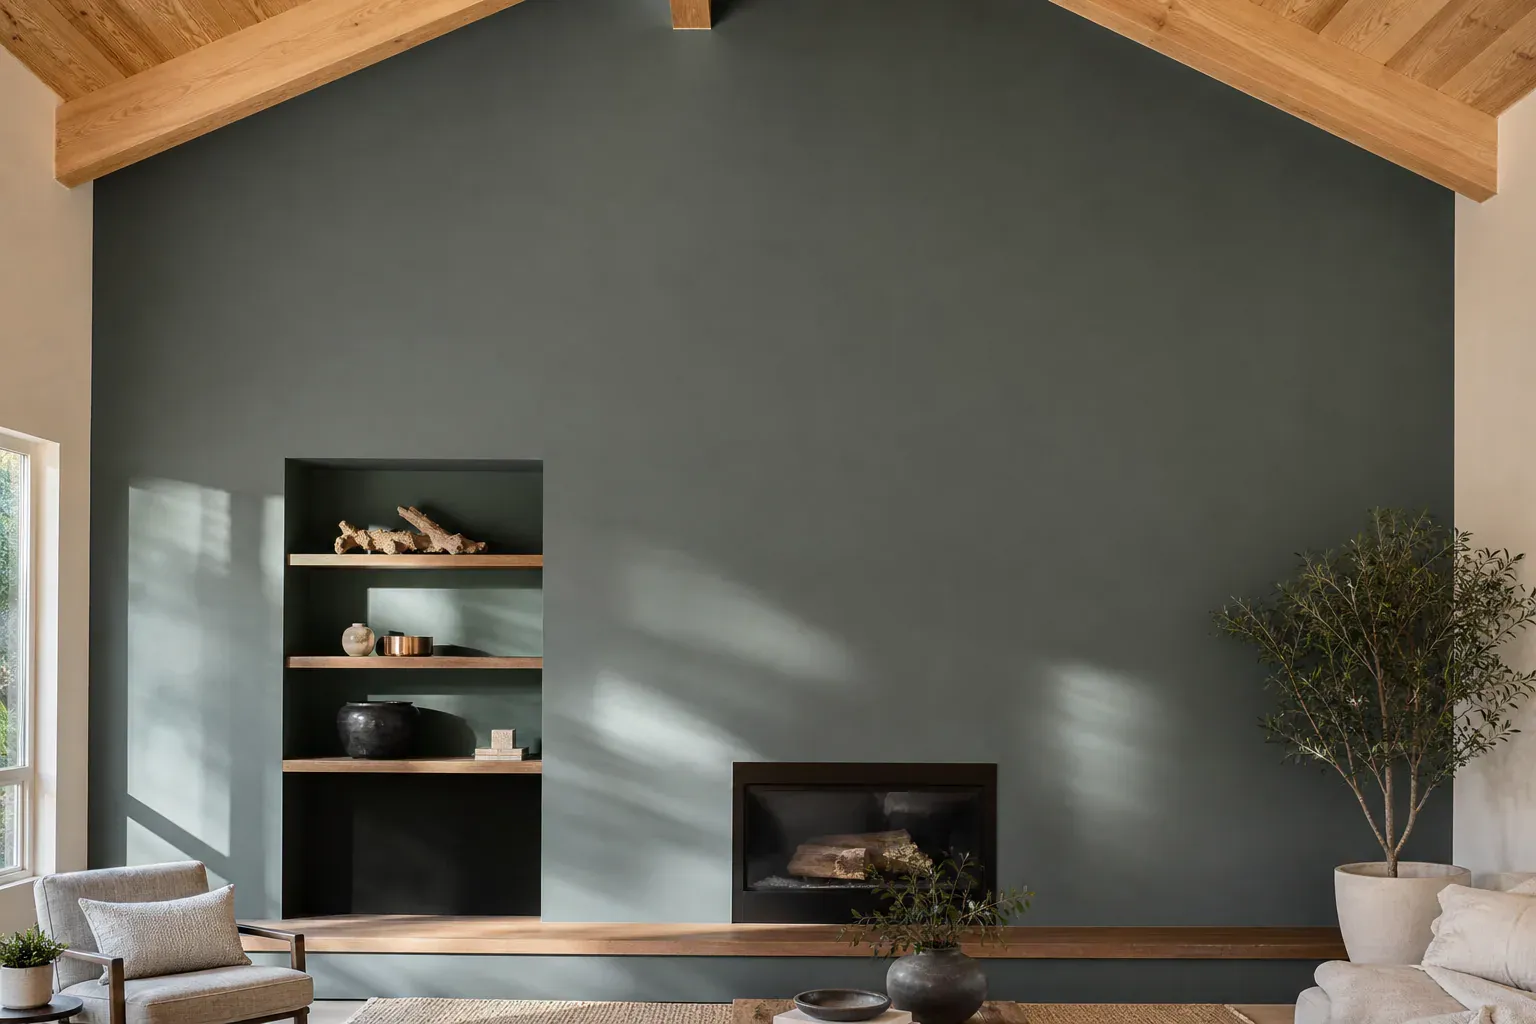
Glendale Quality Drywall installs, tapes and finishes drywall outside corners for homeowners and builders across Glendale, CA. Outside corners take impact during construction and later in the life of a home—doors swing open, furniture gets moved, baseboards get installed next to fresh mud. Getting the corner bead secured straight, bedded tight, and finished smooth requires material selection, proper fastening spacing, and a disciplined multi-coat technique.
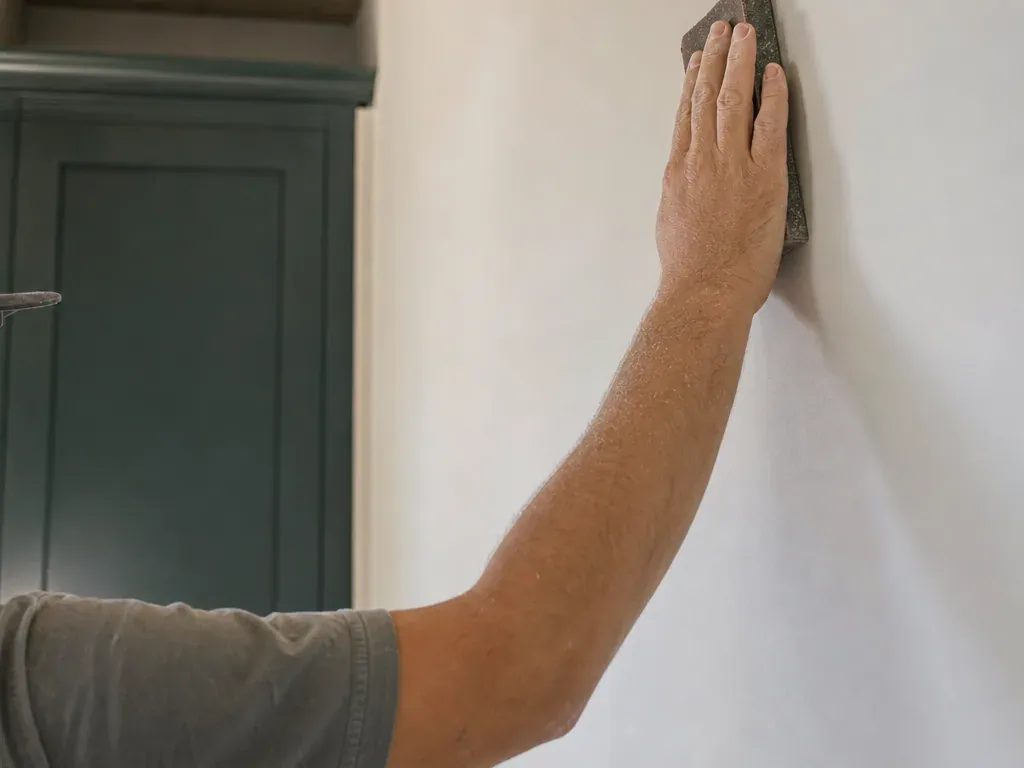

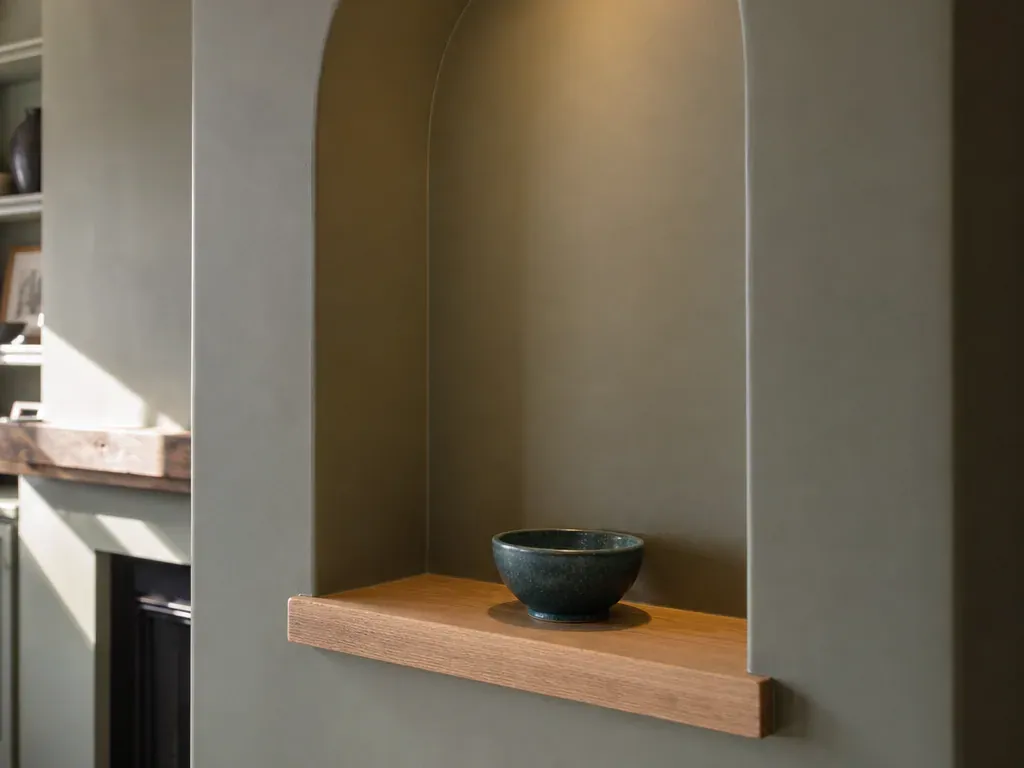
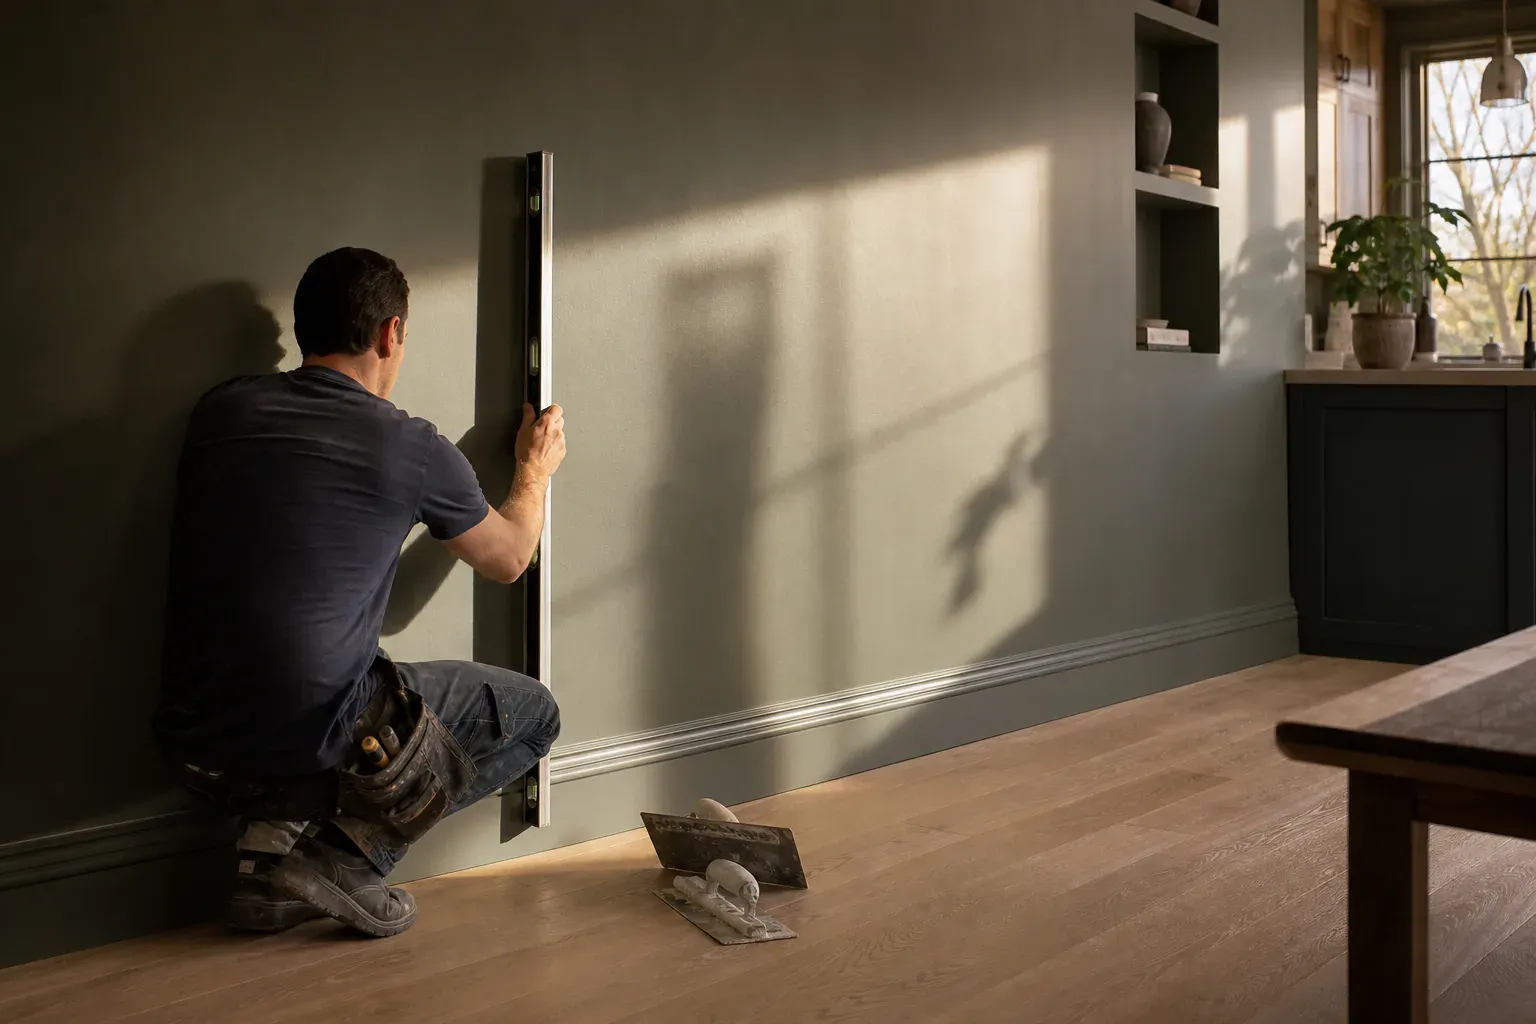
Outside corners on new construction and remodels run through the entire finishing sequence, starting before any tape goes on the flat field. The corner bead carries the structural edge and sets the plane for every subsequent coat of joint compound. If the bead isn't fastened straight and sits flush at the 90-degree corner, the finished corner will never look seamless no matter how much mud you apply afterward.
We start by checking framing for square, shimming behind flanges if the wall is wavy, then fastening the bead with drywall screws spaced every 8 to 9 inches on alternating flanges. The bedding coat follows, then fill coats and a final skim to feather the compound wider than the corner nose itself. We check corner straightness with a level as we go, because a wavy corner bead makes the entire finished corner visible to anyone standing at an angle to it.
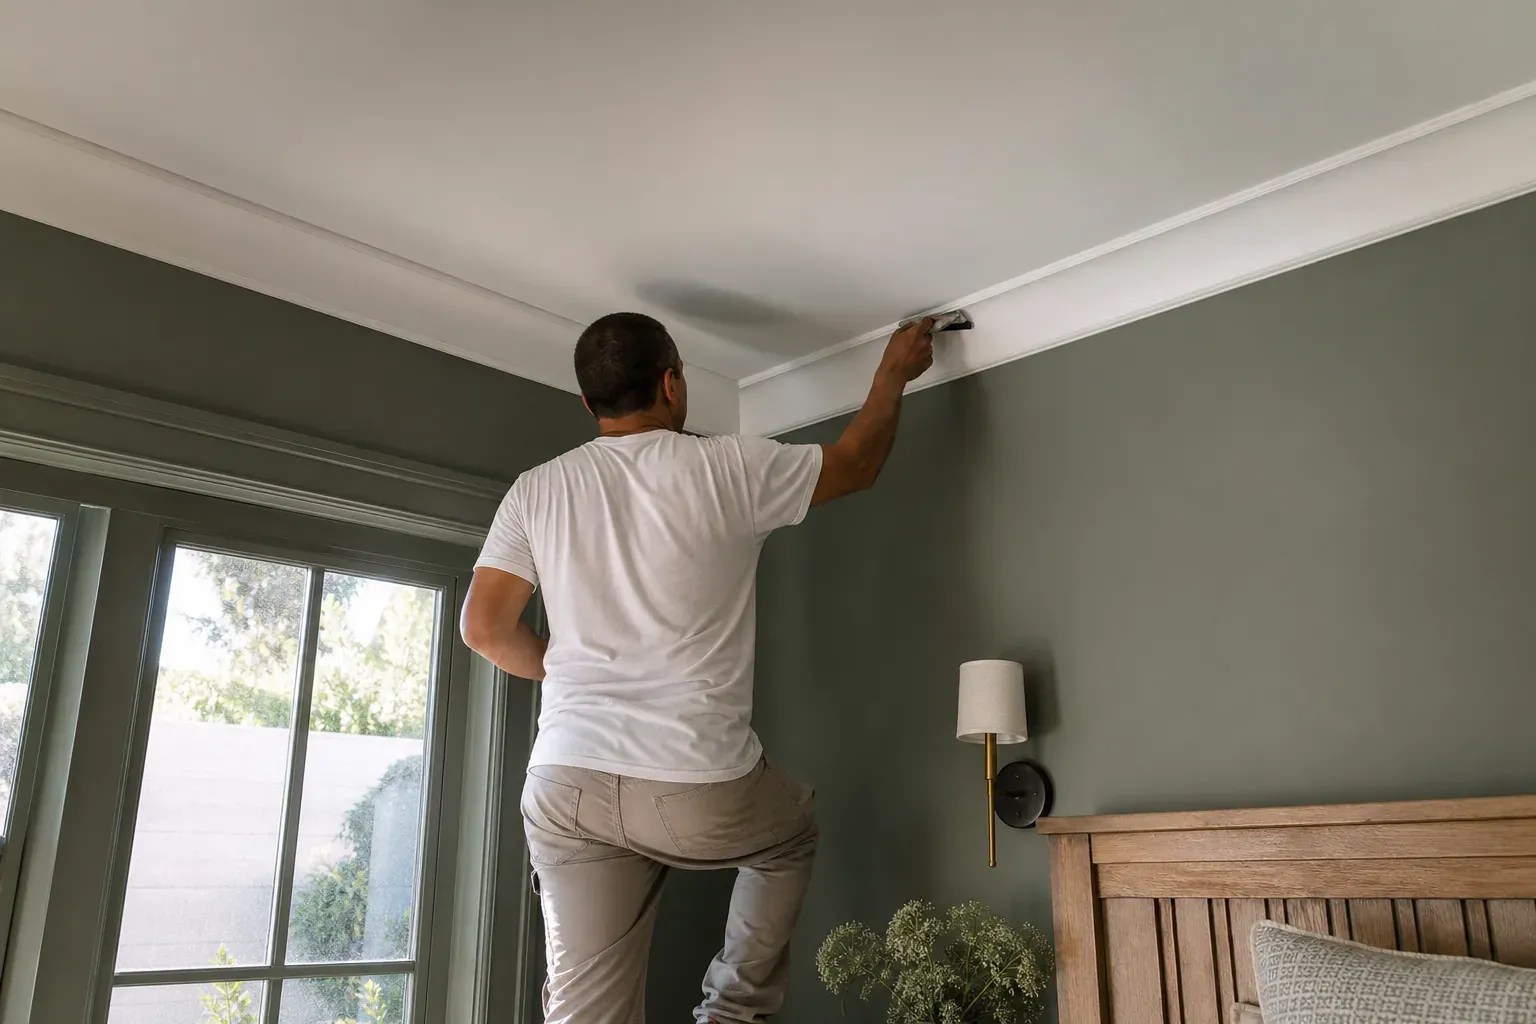
Metal corner bead and vinyl corner bead serve different purposes. Metal corner bead, usually galvanized steel, is rigid and holds a true 90-degree angle. It resists rust in wet areas like bathrooms and laundry rooms, making it the standard for moisture-prone spaces. Vinyl corner bead won't dent as easily if you bump it during construction, but it can crack under sharp impact and offers less edge protection over time.
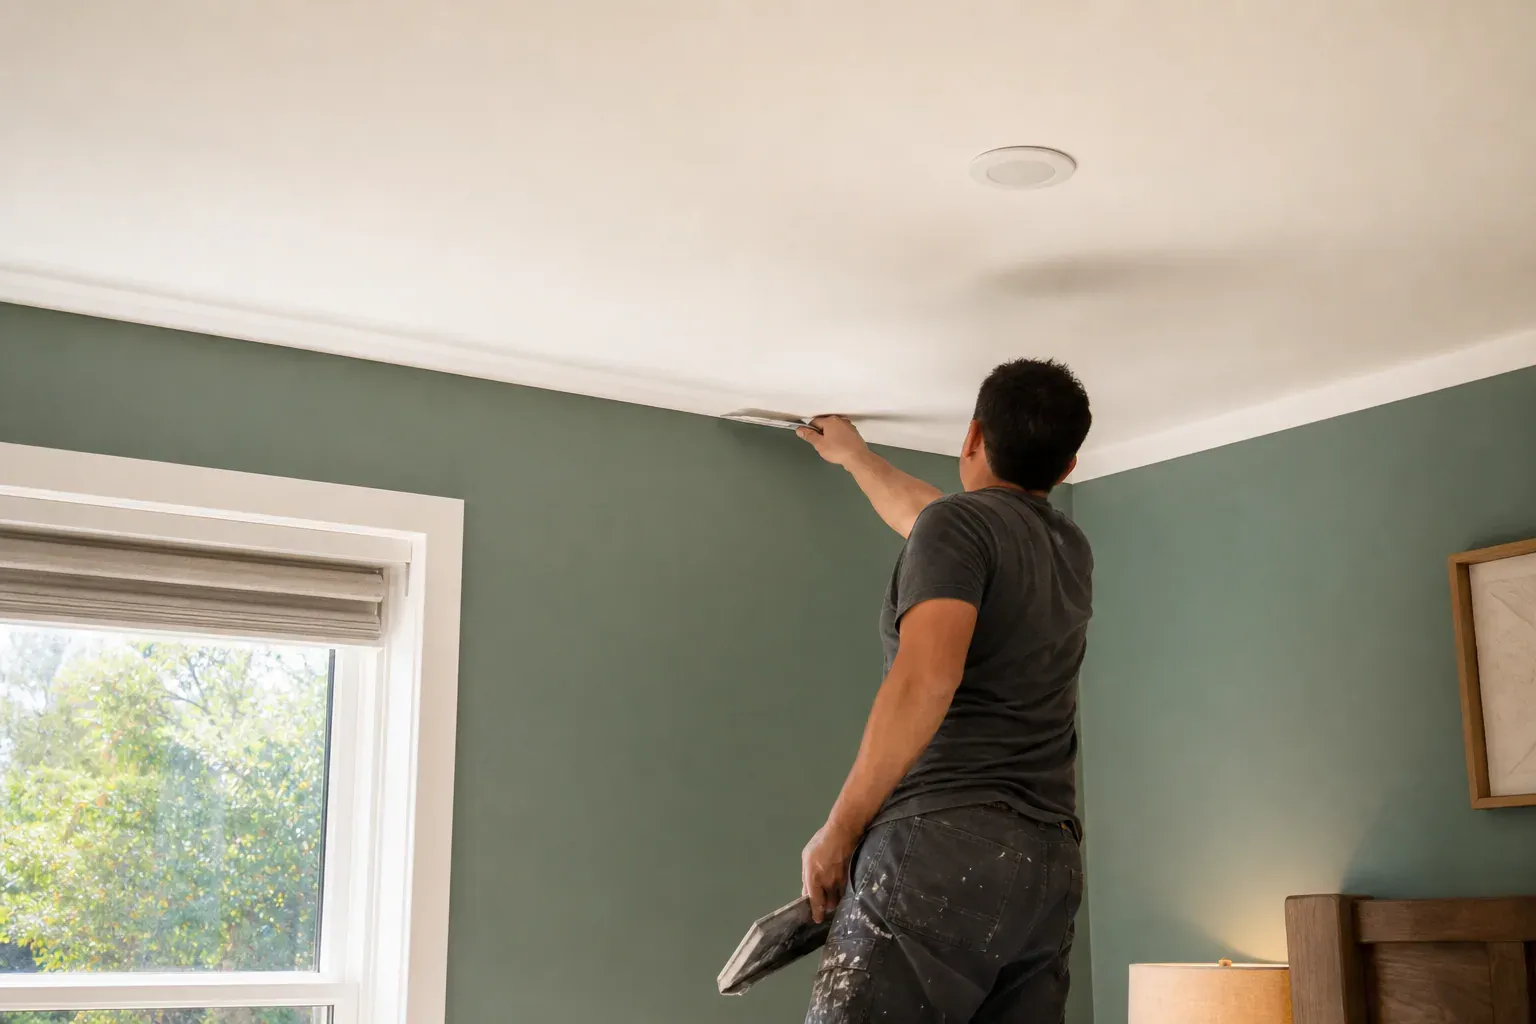
Securing bead starts with drywall screws or nails spaced properly and fastened square to the surface. Stagger fasteners left and right so neither flange gets all the screws. Run fasteners every 8 to 9 inches when using screws, or every 12 inches with a pneumatic stapler—closer wastes fasteners and time; wider leaves gaps where mud can't reach and the bead flexes under load.
Drywall edge preparation matters before any fastening begins. The two sheets meeting at the corner have to be cut square and sit flush against each other with no gaps wider than 1/8 inch. If the edges are jagged or the sheets rock at the corner, the bead will sit loose and the corner will telegraph through the finish coats. We sand or block the edges lightly and check the gap with a straightedge before fastening bead.
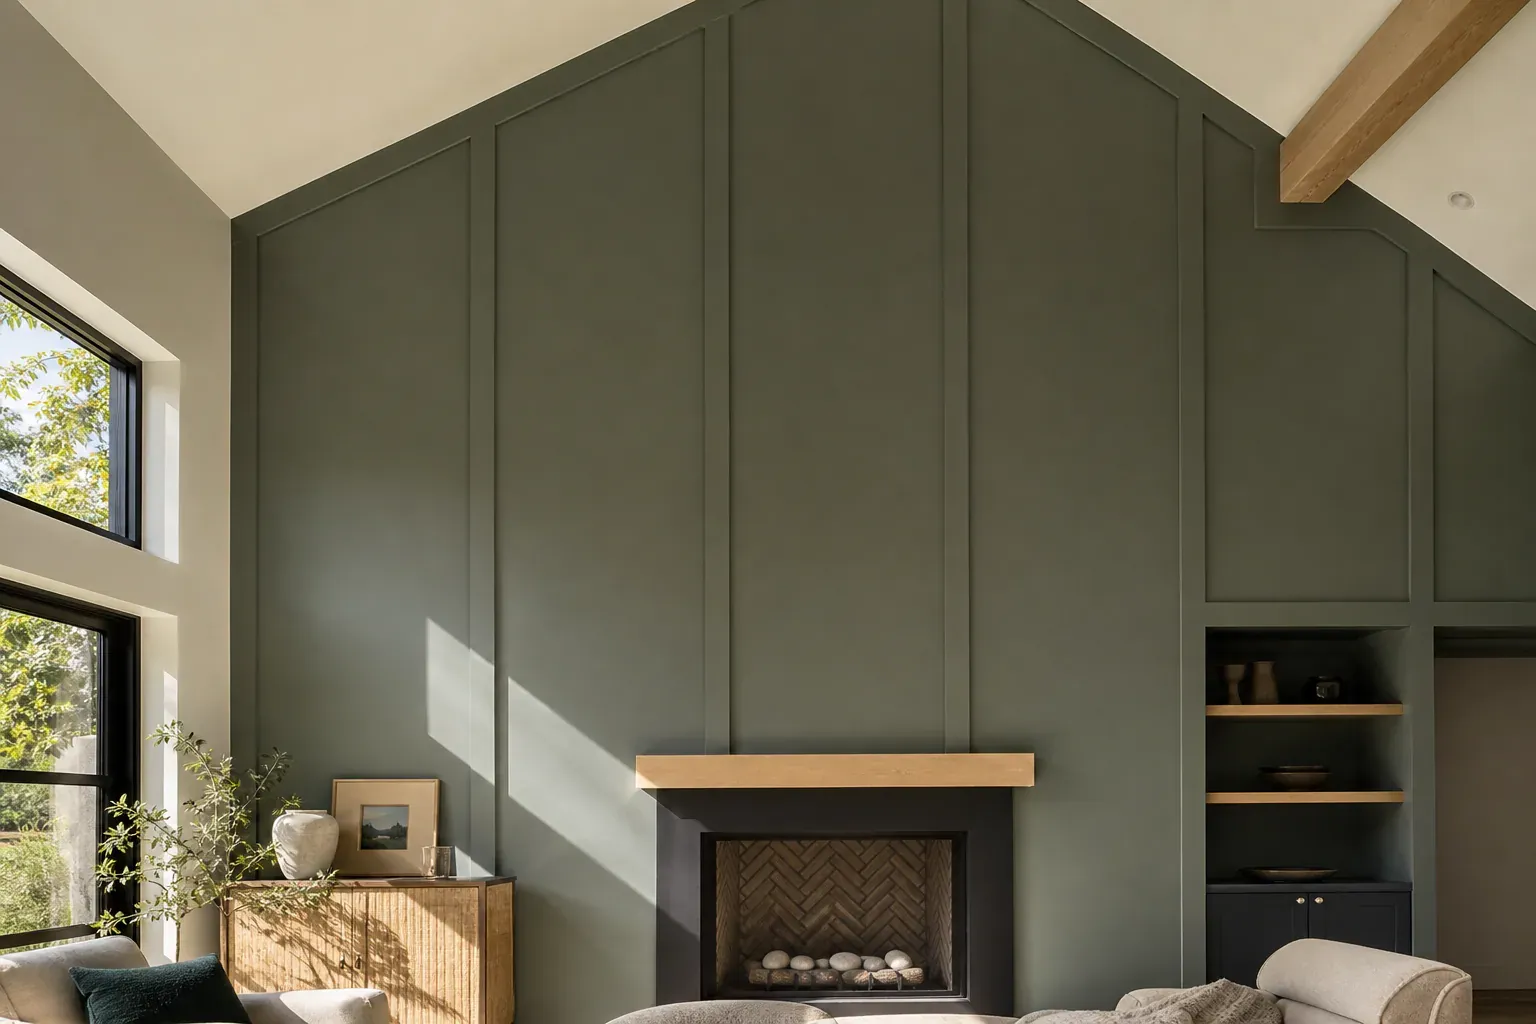
Once bead is fastened, the bedding coat follows immediately. Mix joint compound to a mayonnaise-like consistency using a speed mixer so it flows smoothly without entrapping air. Compound mixing and consistency determines how well the mud beds the bead and feathers outward. We mix to a yogurt-like thickness for the first coat—thick enough that it doesn't slump, loose enough to push easily under the bead spine with a 6-inch knife.
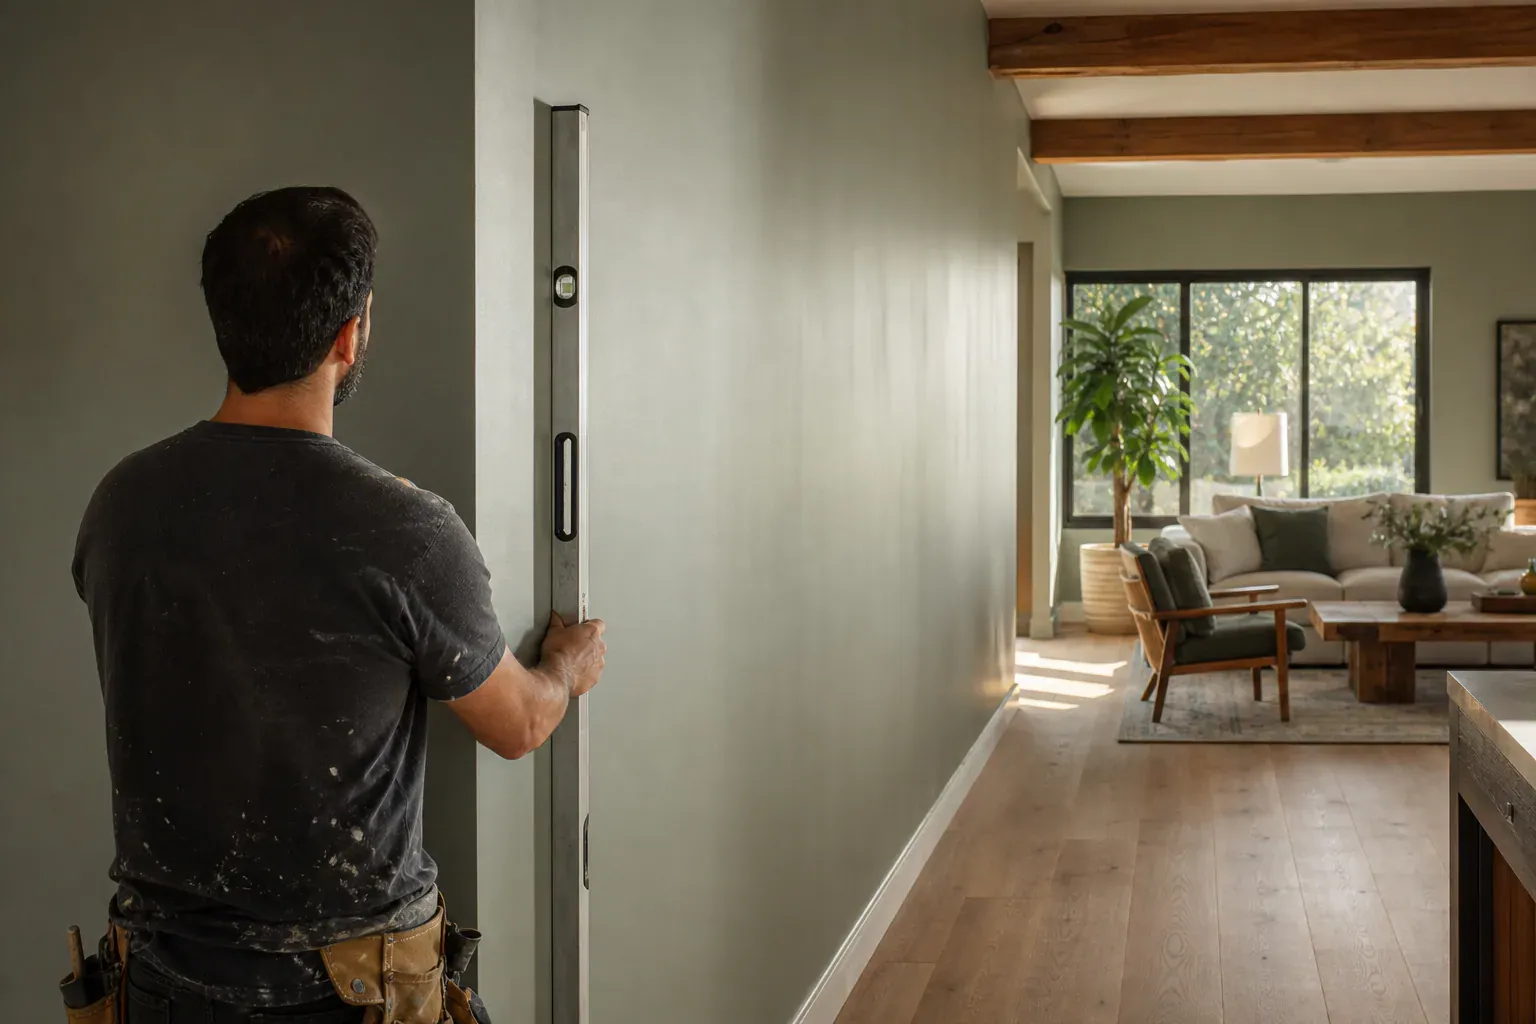
A true level 5 finish on outside corners requires three distinct coats of joint compound, each allowed to dry, then sanded light to prep the next. The bedding coat wraps the corner nose completely and fills the flange valleys. The fill coat uses an 8 to 10 inch taping knife, feathering the compound out from the corner nose to hide the tape edge and create a uniform surface. First coat vs final coat techniques differ in pressure and width: the first coat presses hard to bed the bead, while final coats use light pressure and feather wider to blend the corner into the flat wall.
Mud feathering on corners means extending the compound wider than the corner nose itself, creating a gradual taper that becomes invisible once sanded. The final skim coat feathers 8 to 12 inches out from the corner, applied thin and light. Sand between coats with 150 to 220 grit paper, sanding by hand to avoid raising the drywall paper itself.
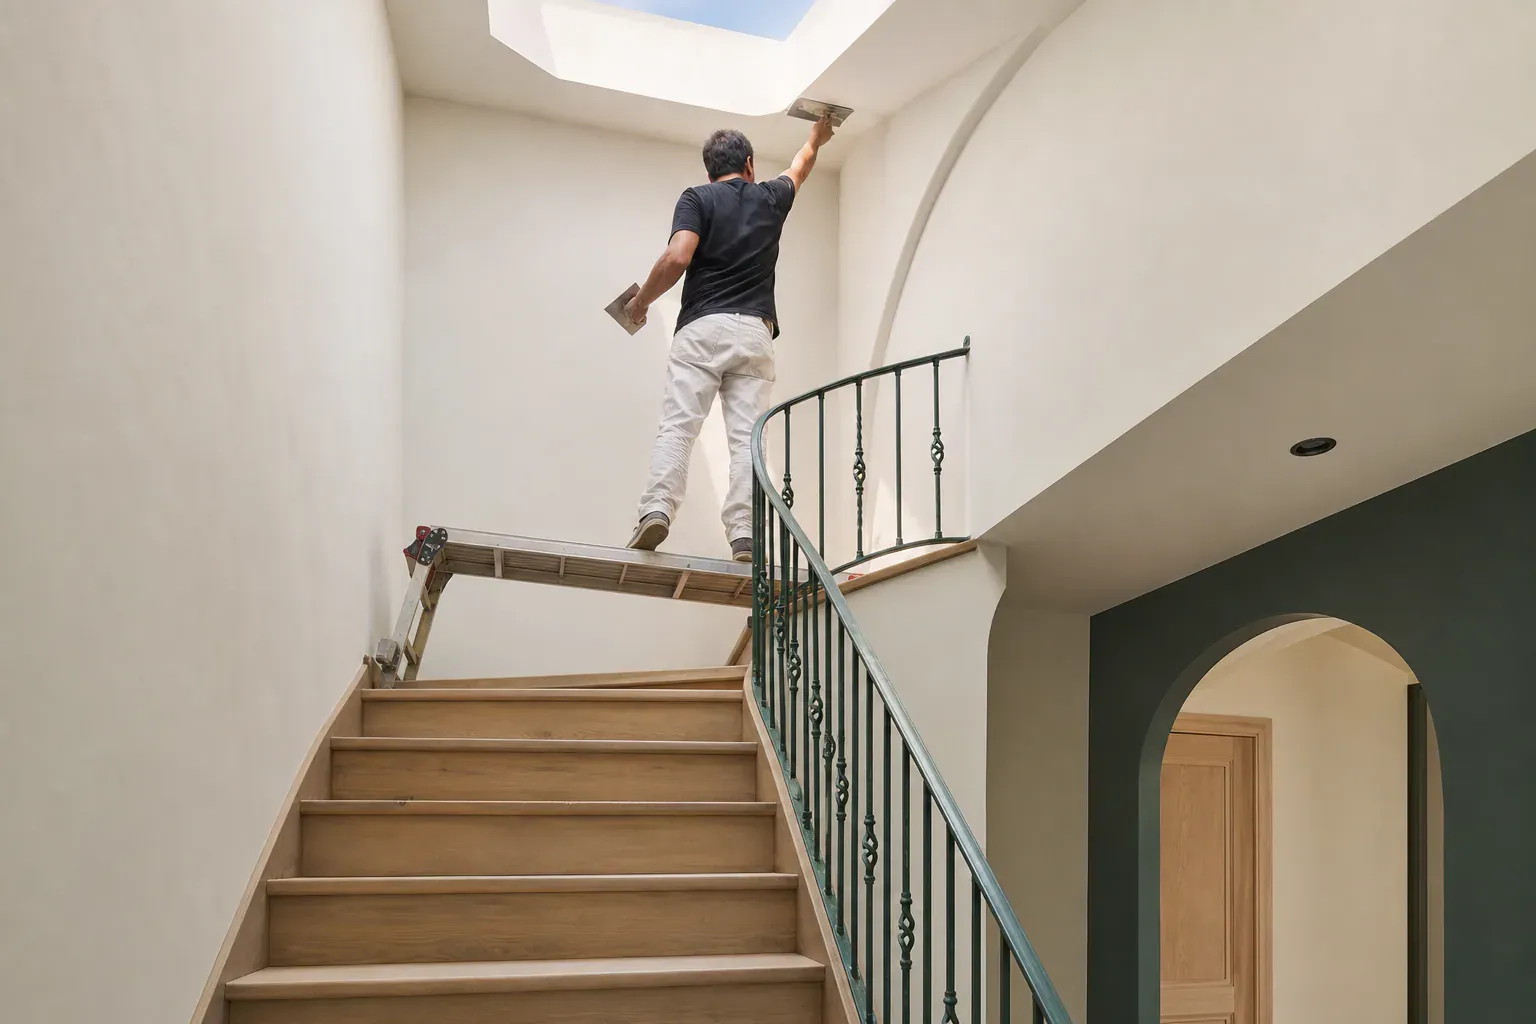
Outside corner reinforcement comes from layering: first coat beds the bead and fills gaps, second coat extends the taper and starts smoothing, third coat feathers the final edge. Each coat is thinner than the last and wider than the one before. Drywall corner durability depends on proper spacing of fasteners, adequate compound bedding, and multi-coat finishing. A corner finished in cold, humid conditions is more prone to stress cracks as the compound eventually dries and shrinks.
Preventing corner bead stress cracks means allowing adequate dry time between coats—typically 24 hours in Glendale's dry climate—and avoiding thick single coats that shrink unevenly as they cure. Two thin coats dry more evenly than one thick coat. Temperature swings and moisture traps are enemies of durability; allow 24 hours minimum between coats in normal conditions. Cold weather or high humidity extends that time—compound dries through evaporation, and if the air is saturated, moisture can't leave and the coat stays soft.
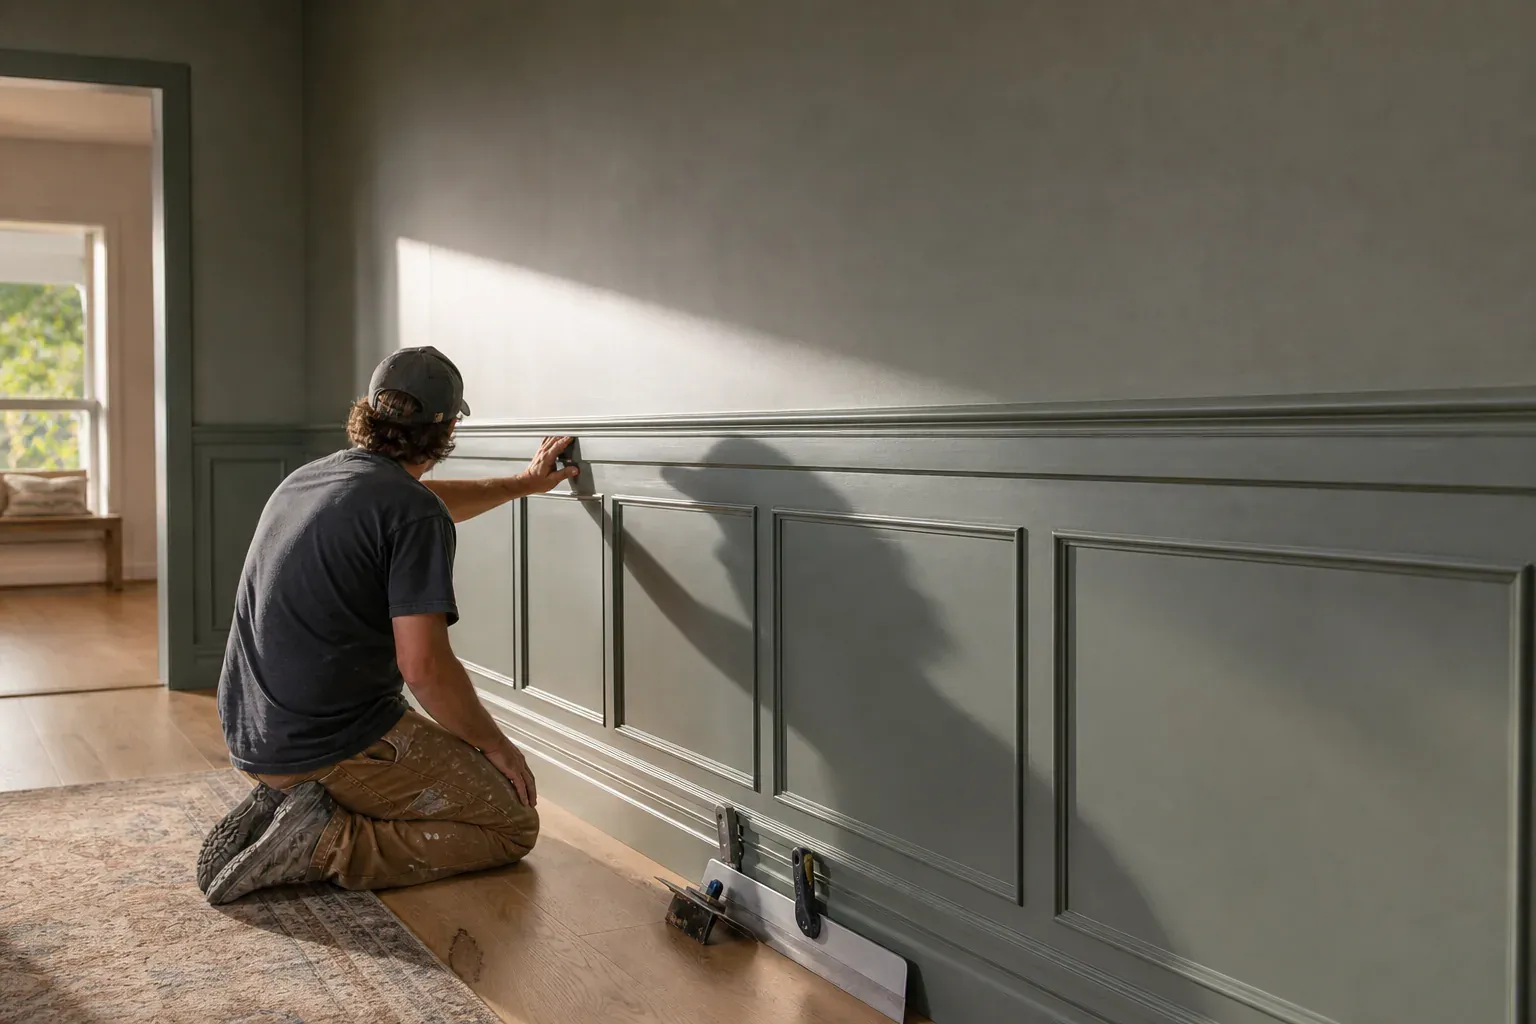
Impact damage, stress cracks from compound shrinkage, or poorly installed bead showing through require removal and replacement. Cut the damaged bead free with a utility knife along the flange line so you don't tear the surrounding paper. If only a section is damaged, cut out just that piece and replace it rather than stripping the whole corner. Drywall corner repair requires feathering new compound 4 to 6 inches past the repair on either side to blend the seam and prevent visible shrinkage cracks as it cures.
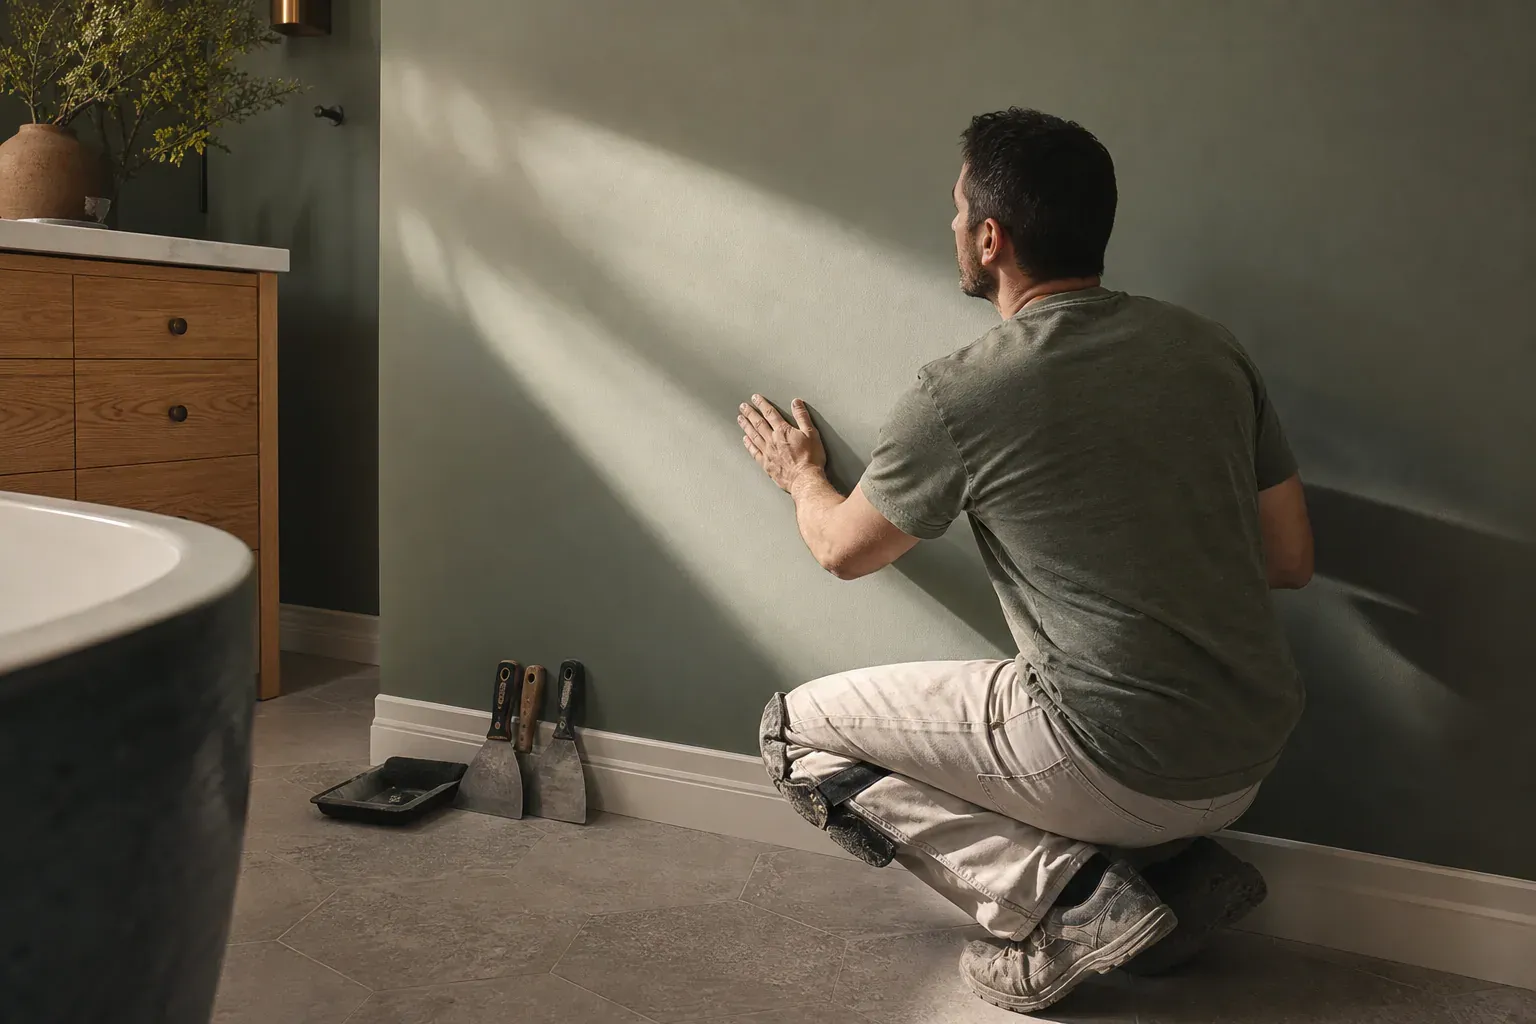
Bathroom drywall corners face constant humidity, which breaks down paper-faced bead and can rust standard metal bead if it's not galvanized. We use galvanized metal corner bead in all bathrooms and laundry rooms because it won't rust and maintains its rigidity through moisture cycles. High-traffic area corner protection means selecting metal over vinyl, ensuring fastener spacing is tight, and feathering the finish coats wide enough to hide any edge wear.
Outside corners on new construction and remodels run through the entire finishing sequence, starting before any tape goes on the flat field.
Outside corners on new construction and remodels run through the entire finishing sequence, starting before any tape goes on the flat field.
Metal corner bead and vinyl corner bead serve different purposes. Metal corner bead, usually galvanized steel, is rigid and holds a true 90-degree angle.
Securing bead starts with drywall screws or nails spaced properly and fastened square to the surface. Stagger fasteners left and right so neither flange gets all the screws.
Once bead is fastened, the bedding coat follows immediately. Mix joint compound to a mayonnaise-like consistency using a speed mixer so it flows smoothly without entrapping air.
A true level 5 finish on outside corners requires three distinct coats of joint compound, each allowed to dry, then sanded light to prep the next.
Why homeowners call us
Every drywall job is scoped and priced in writing, so the number you approve is the number you pay. If something behind the wall changes the work, we stop and price it first.
You speak to the people doing the work, not a call centre, and cover certificates go to your building manager or general contractor on request.
Containment, floor protection and same-day debris removal on every interior job — the space stays usable while the work is going on.
Crews work Glendale and the surrounding cities every week, so a walkthrough is usually available within the same week you call.
FAQ
Yes. Corner bead provides a durable finished edge and holds the 90-degree plane for taping and finishing. Without it, compound alone will crack, chip, and crumble under the traffic and temperature swings a home experiences.
Galvanized metal for bathrooms and laundry rooms—it won't rust. Vinyl in lower-impact areas, though it's softer and can crack. Paper-faced bead in climate-controlled interior spaces where the invisible seam matters most. Wall thickness and framing condition also matter; assess on-site.
Three coats minimum for a smooth level 5 finish: bedding coat to secure the bead and fill the flanges, fill coat to feather the compound and hide the tape edge, final skim coat feathered 8 to 12 inches out. Each coat dries completely before the next.
Cut the damaged bead free with a utility knife along the flange, replace the section, and bed it solid with new fasteners and compound. Feather new mud 4 to 6 inches past the repair on both sides to blend the seam and prevent visible shrinkage cracks.
Yes. Shim behind the bead flanges before fastening to true up wavy framing, or miter the bead at 45 degrees on out-of-square corners. Vinyl bead works on bullnose and curved transitions. Assess the framing first—compound alone won't fix a bad angle.
24 hours minimum in normal conditions. Cold weather, humidity, or poor air circulation extends that time. Don't rush between coats or trapped moisture will stay in the compound and cause cracking as it finally dries deeper down.
Call (213) 555-0110 for a walkthrough, usually within the same week.